An example on how to layout your terminals before beginning assembly

Importance must be placed in arranging them systematically and with enough space to allow staff to easily be able to move around the machines to be able to quickly efficiently do the work required.
Mapping the inside of space you have available already takes place right at start of job when engineering department will map out the area within enclosure so that their is a space provided for each components and required space for mounting parts to affix inside.
An example on how to map out your internal space equally and proportionally

The ability to be able for the companies service technicians to easily service the terminals in the field is paramount, most customers work on either outsourcing or paying by hour for technicians to service a terminal and having easy to access service doors to reach the machines internal components can literally save thousands of dollars.
An example on how to design your terminal for ease of access

Furthermore certain main components require also special attention when your for example installing in the field kiosks that are designed for payment, in this instance the kiosks should be able to easily accessed the printer for changing the receipt paper, as well as ease of removal of cash in this case our team always mount these on sliding drawers and we use only cash accepters with built in cash boxes that store physically bill cash notes so as in the field those responsible are not physically having to scoop out the notes but can easily methodically unclip small cash safe box mounted either on front or rear.
An example of how to design your terminal for easy printer and cash note accepting service

In some instances we are also requested to install wheels so that units can be easily moved around in case for example they maybe located up against a wall and the technician has to access rear. The oversight many do not see is that wheels require wheel lock brakes so that units do not move once in site
Example of Base Wheel with Lock Brake

Several important factors are crucial for a successful cable installation to ensure that terminals are guarded against cable failure, cable damage and electrical shock damage. Some short examples of correctly installing these are given below.
Example of Mains AC power cable extruding from rear with rubber groment to protect the power cable plastic sheath.

Example of primary data cable protected by plastic cable guard

Example of using correctly plastic groments to afix to power dc connections

Example of labelling cables to easily trace cable and parts

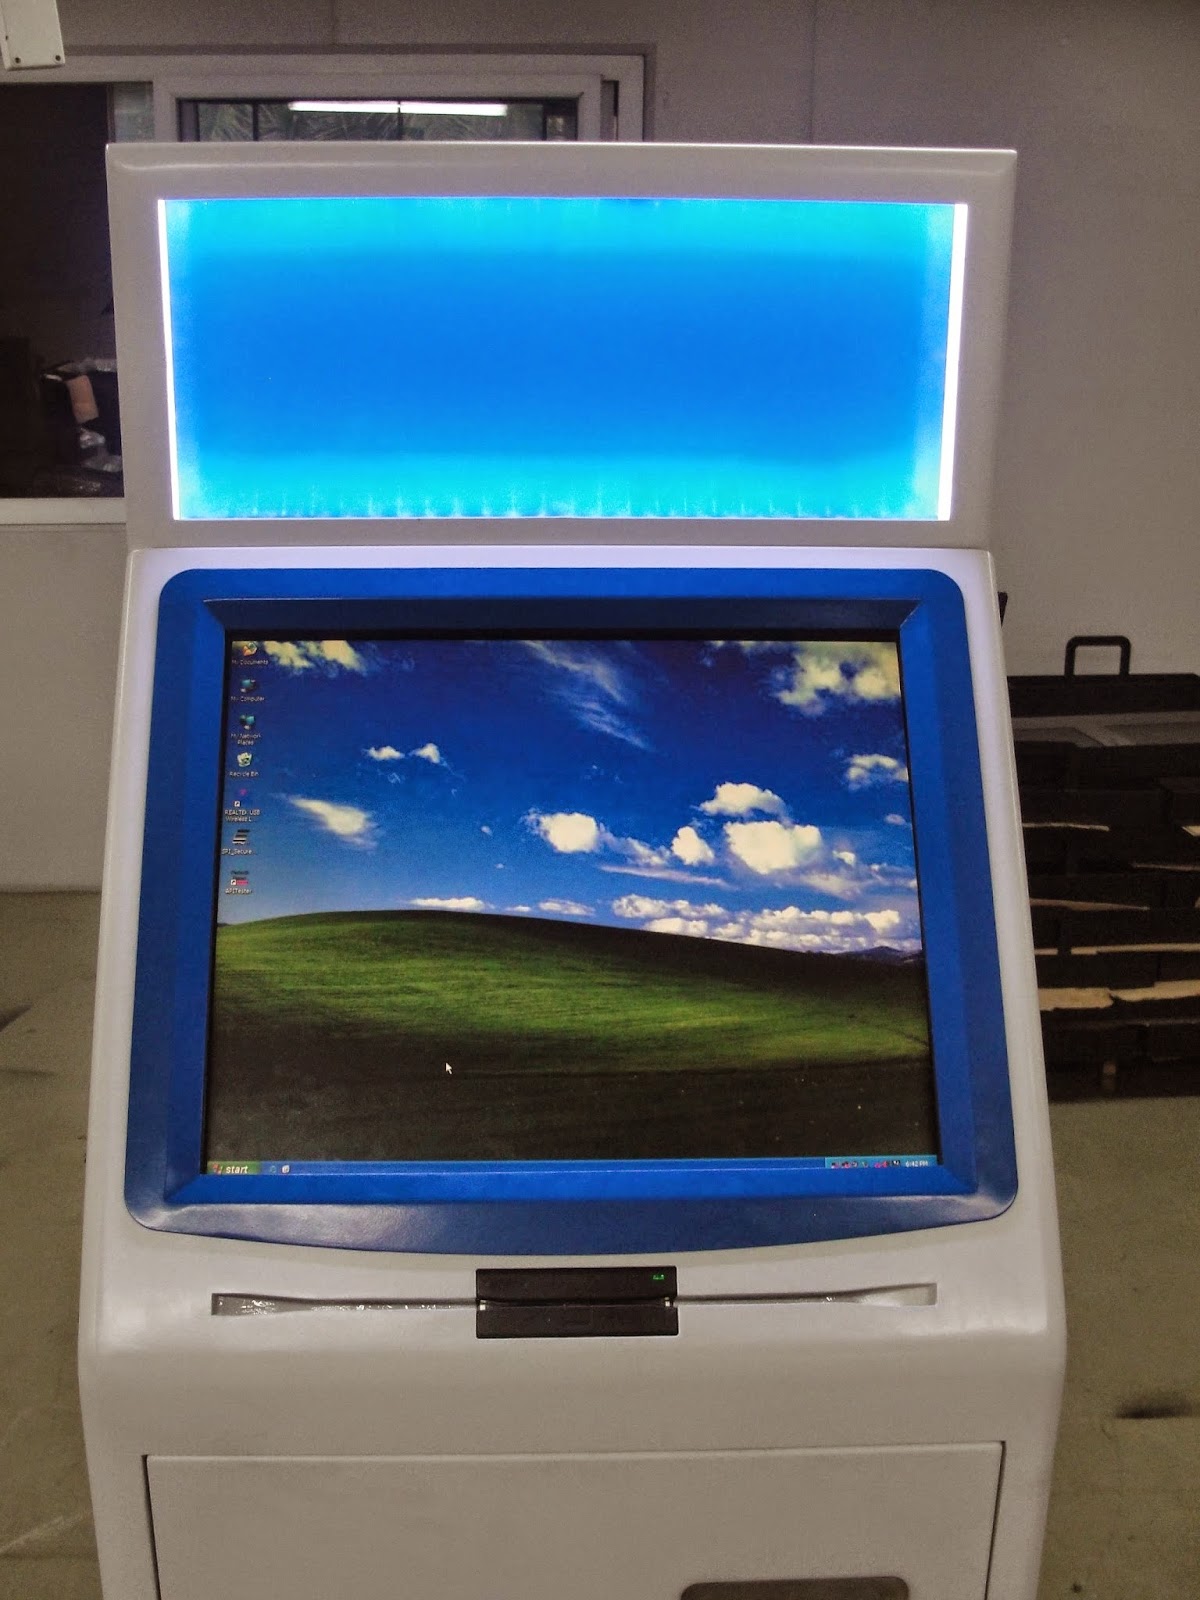
Light Boxes for advertising or information purposes tend to be popular as more cost effective means than additional secondary monitors the oversight that several vendors do is use of dual LED lighting rods instead of single rods, the effect is that with single rods the light will be strongest were it is mounted and weakest from its furthest edges whereas with dual rods the light emitted will be uniformed.
An example of LED Lightbox with dual LED rods installed
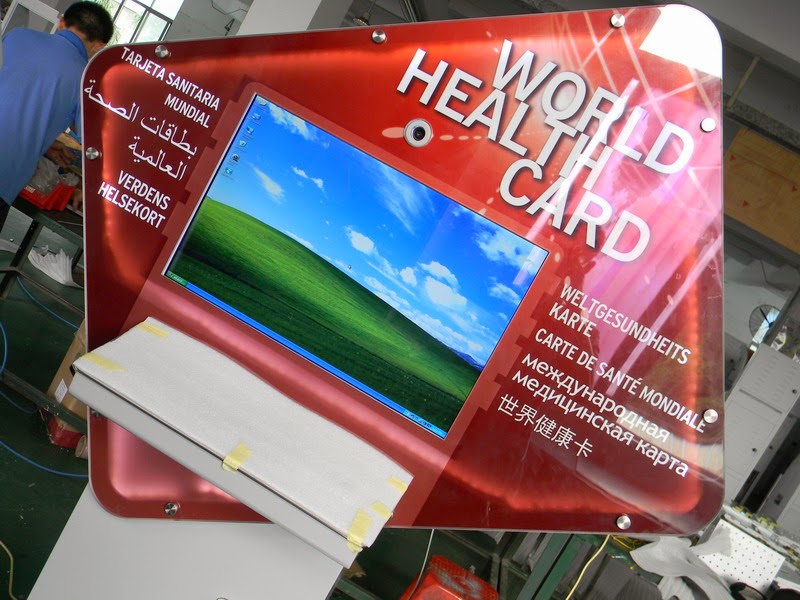
Finally we raise the issue of PVC lettering, this should be mounted in a clear contrasting color so it can be easily read afar, naturally all languages checked they are spelt and translated correctly and lettering stands linearly.
An example of PVC lettering
These suggestions are obviously not all of the points but it does provide a glance as to what we see to often overlooked by others.